Do you know what’s better than paper bags? It’s printed paper bags!
Since the mid-eighteenth century, paper bags have become a preferable choice for customers. This is the reason why businesses, ranging from big brands to small outlets, are using paper bags to pack their products. The bags are reusable, recyclable, and biodegradable that provides them an edge over their counterparts.
And one thing that adds more to their popularity is their easy printing. It is easier to print on paper bags and other reusable bags. Bags made with the help of a non-woven bag making machine are also easier to print.
If you are also manufacturing paper bags or other reusable bags with the help of a non-woven bag making machine and want to step into customization with printing services, this article can help.
Here, we will talk about how printing on paper bags is done. So, let’s begin.
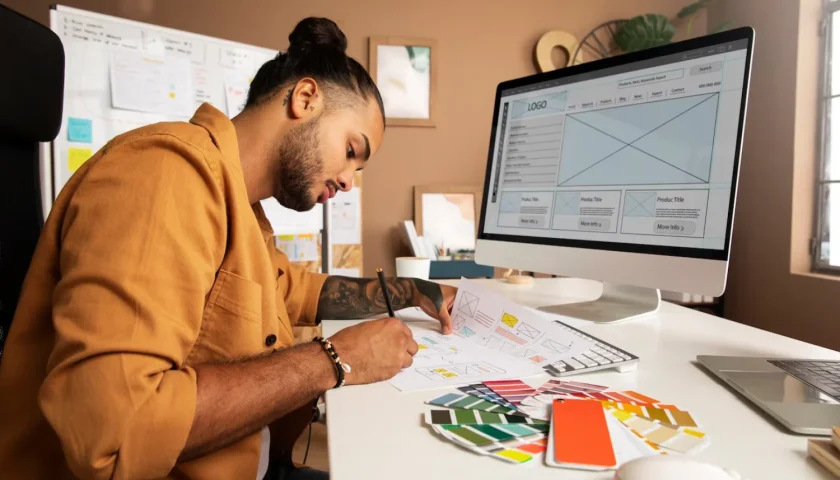
Make The Design
You can begin by making a design with the help of software that has graphics like Word, Photoshop, or Corel Draw. Before finalizing the design, consider what kind of printer you have and whether the cartridge is black and white or color.
A colorful design is more impactful as compared to the black and white one. Along with the color scheme, also scale the design so that it fits the area on the bag. Ensure that the bag size and design are proportional; otherwise, the print will become too large for the bag and spoil its entire look. Additionally, the design should also not be too small that it is not even visible.
The designs look beautiful on paper bags and other reusable bags and add to their grace. Customers tend to like printed bags more than plain paper bags. By printing paper bags, you can boost sales and get maximum return on investment.
Prepare Paper Bag For Printing
With the help of a non-woven bag making machine, you can produce high-quality non-woven bags with ease and efficiency. While producing paper bags, make sure they are not bigger than the printer you have; otherwise, printing on them will become a lot more challenging.
To make the printing process smooth, here are a few preparatory steps you can take:
- Get the paper bags laid flat on the computer paper with the help of masking tape. Use the tape lightly on the paper bags so that it doesn’t damage the paper while you take it off.
- Make the side print face up and away from the computer paper. This will ensure a smooth print on the bags. Want to know how? Here’s the answer – The actual shape of the bag is not designed for printing, and there are chances that edges that lift outwards may get caught in the moving parts of the computer. That’s why the bags are tapes, and side print is faced up and away from the computer paper.
- If you don’t want to take the risk that may follow after the tape is removed, you can use one more option. You can use the tape only to hold both ends of the paper bags as the effect will be the same. It is crucial to hold the edges of the paper bags to prevent them from sticking in the printer and getting teared up.
- If the paper bags you have made have handles, it is advisable to remove them before printing and add them later. This is because most handles are not flat and mostly round. That makes them more likely to get caught in the printer while the printing process takes place and cause even more damage. If your paper bags have flat handles, then you can tape them down just like the edges.
Print The Bags
Load the paper bags on the printer and start with printing the image you have designed. Monitor the process to ensure that the images are appearing correctly on the paper bags. While loading the bags onto the printer, make sure that the bottom tape side goes in first. The thing will get you the right image in the right direction on the bags.
Once printed, remove the masking tape cautiously, and your printed paper bags are ready for sale.